Kevin Cuzner's Personal Blog
Electronics, Embedded Systems, and Software are my breakfast, lunch, and dinner.
Modifying my computer case
Feb 25, 2012
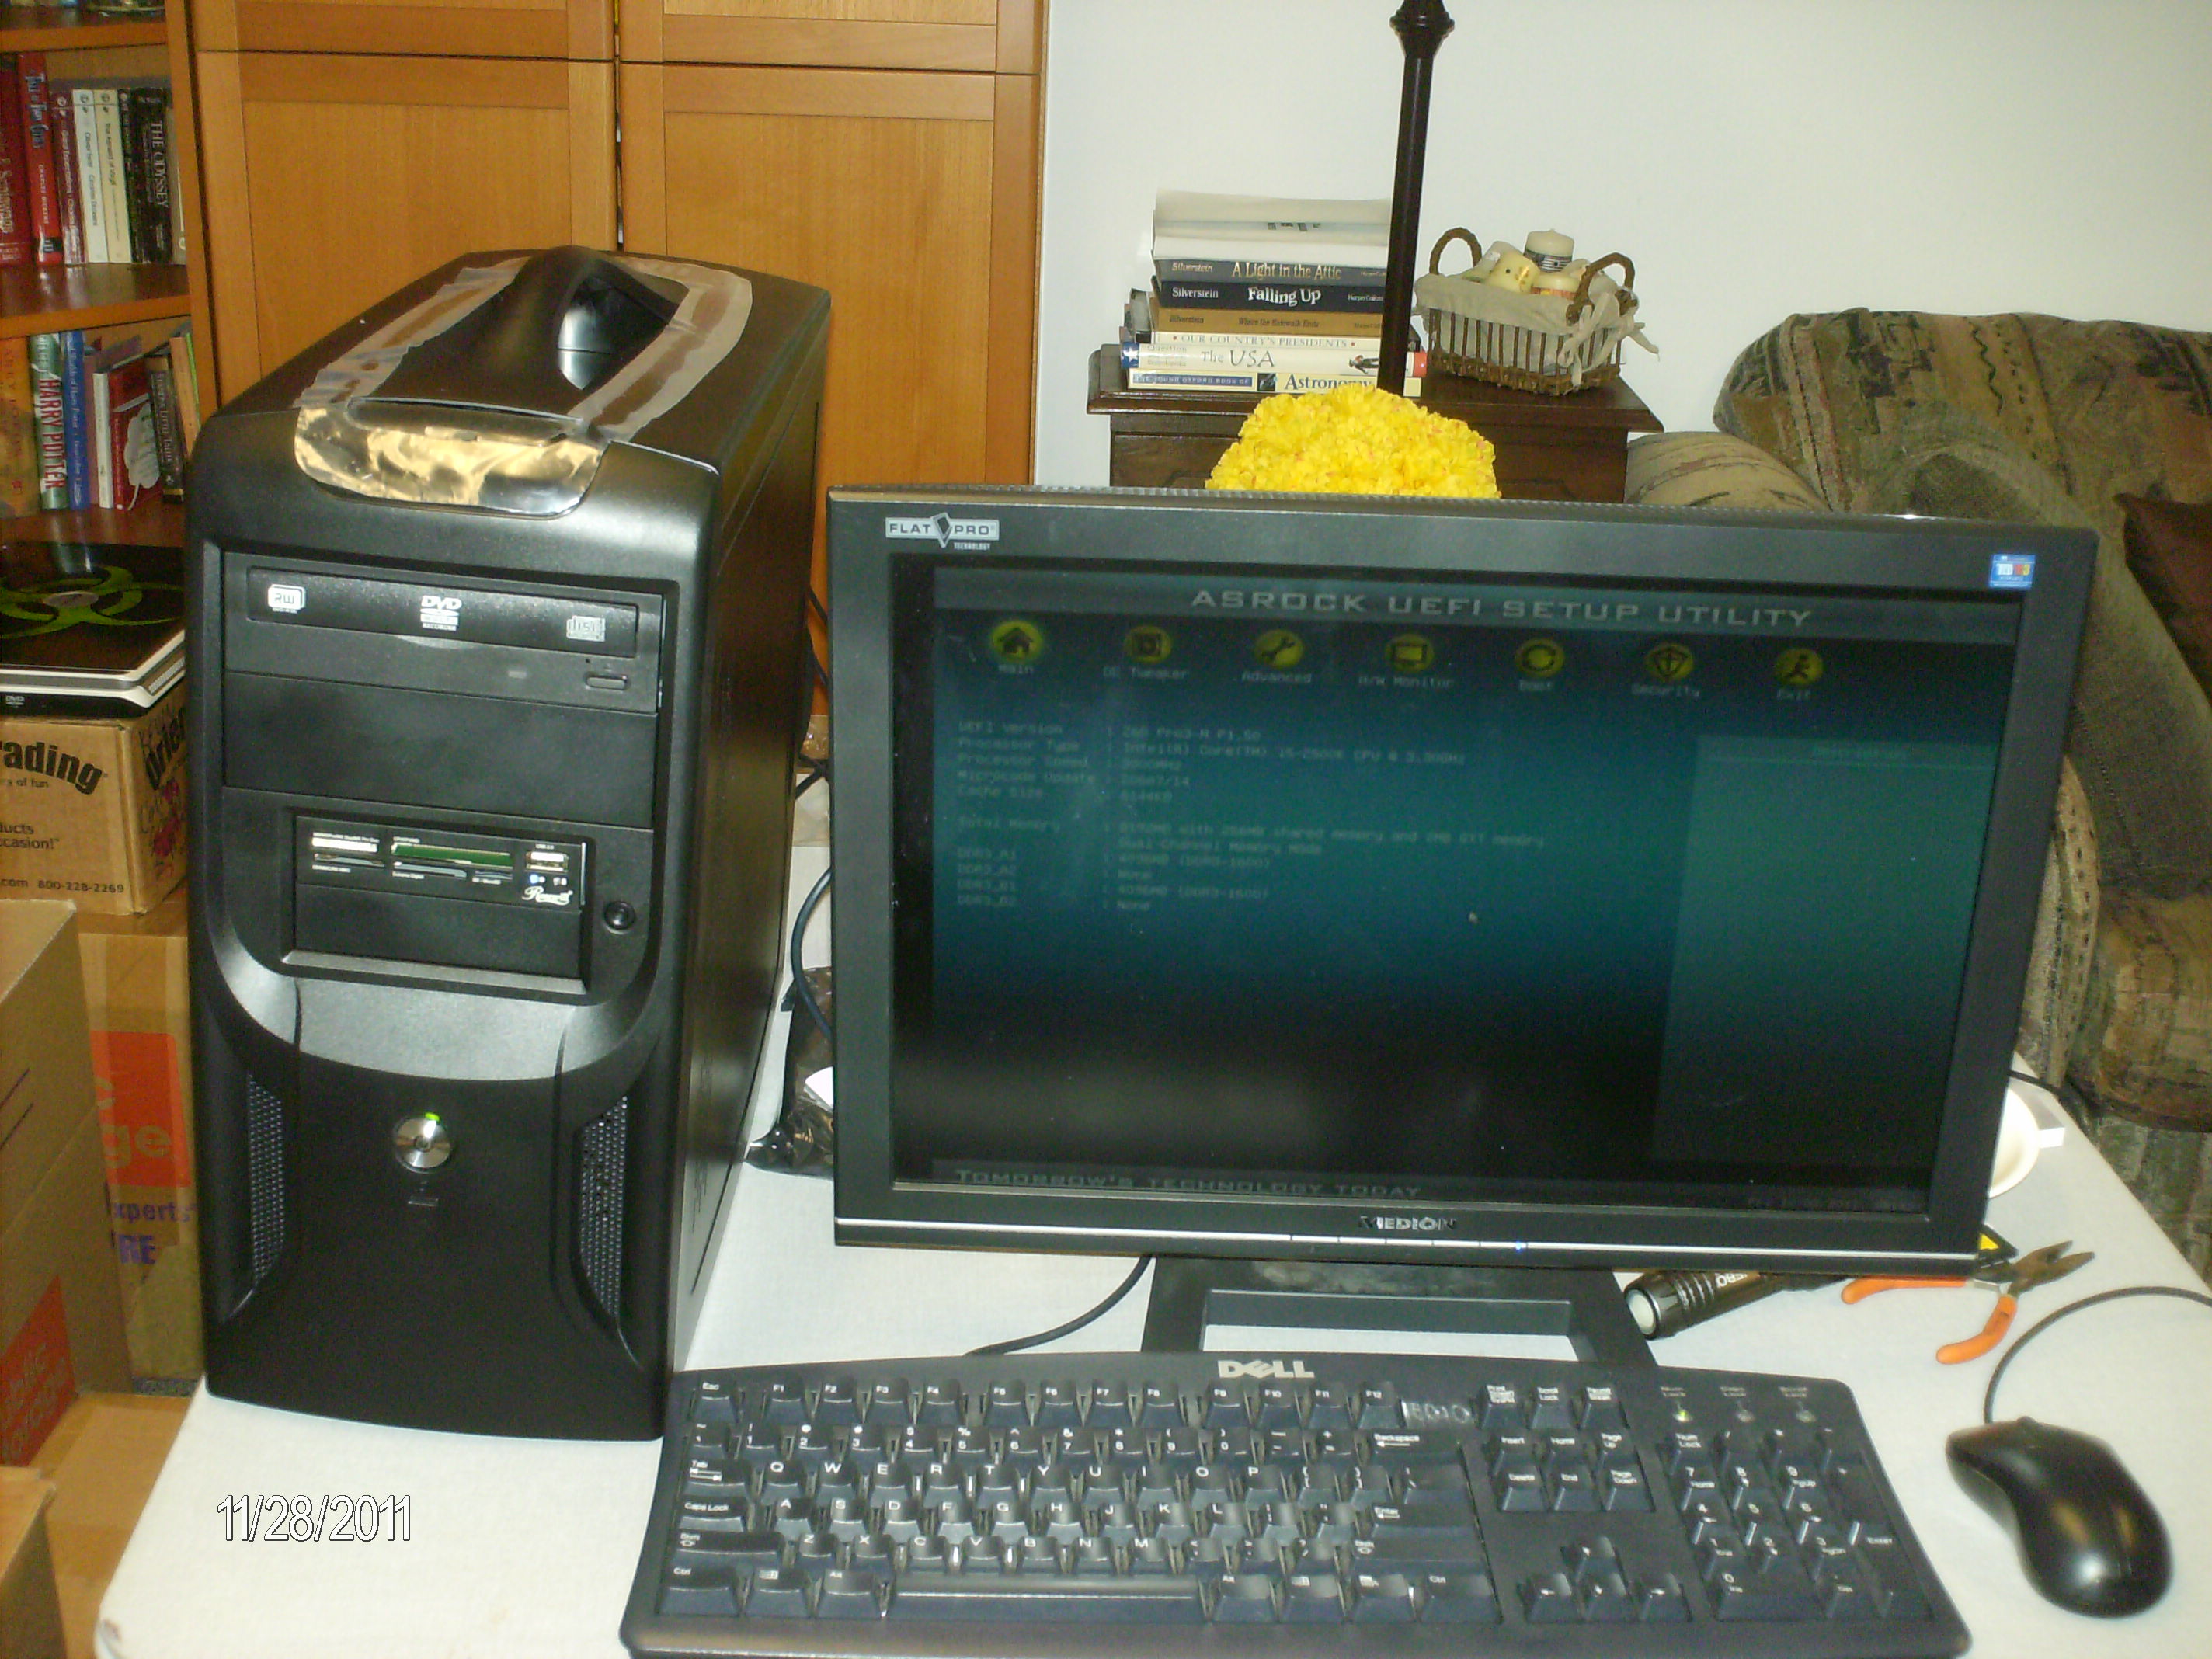
The computer
In November I purchased the parts for a new computer since mine was getting very old (I got it in 2006 and even then it wasn't exactly top of the line). I put it together and it has been performing admirably for a couple months now. I was researching graphics cards and it occurred to me that I would have to move my hard drive up a slot to fit a large graphics card in my case.
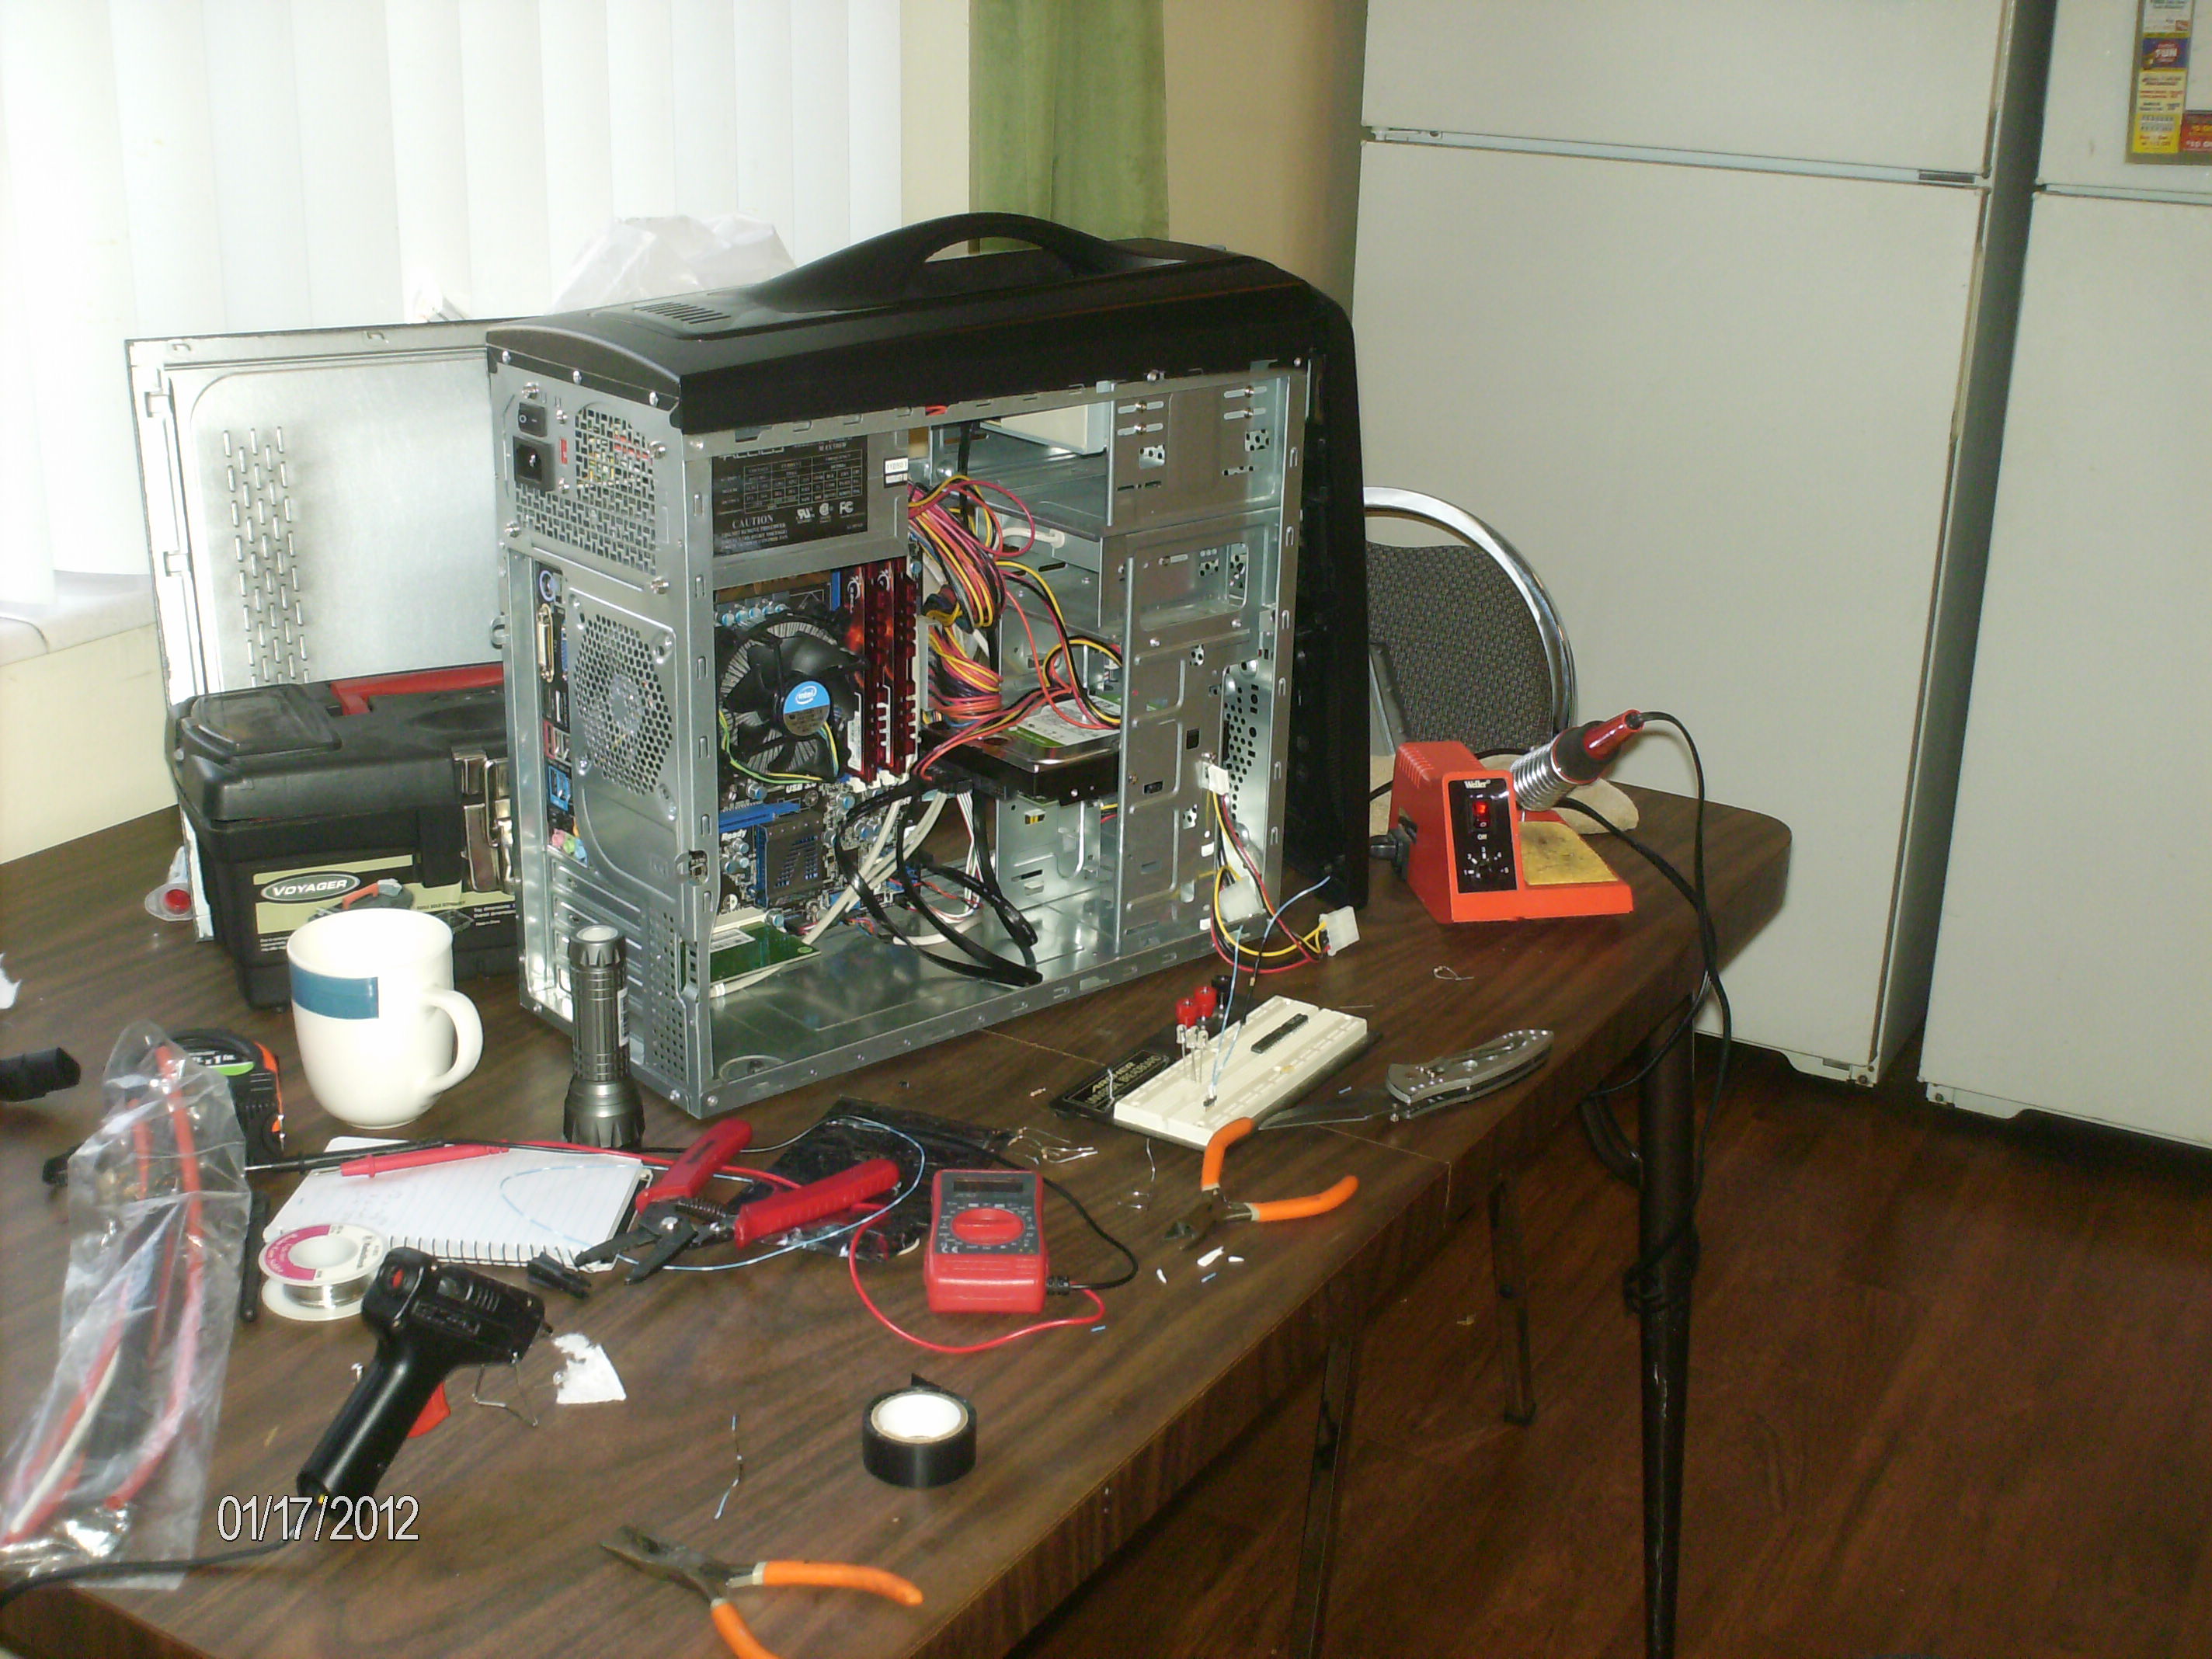
After moving stuff around inside
So, I opened the case and started moving stuff around. I also decided to re-organize the cables so that they wouldn't be dangling precariously above the CPU fan by stuffing them behind the HDD cage. During that process I took some strain off the SATA cables (they are kind of stiff and I think they were putting undue stress on the sockets on the motherboard, so I moved them around so that they wouldn't be so convoluted). After finishing all this it occurred to me that my case would look sweet if I were to add some LEDs to it. I then set out to install some LEDs.
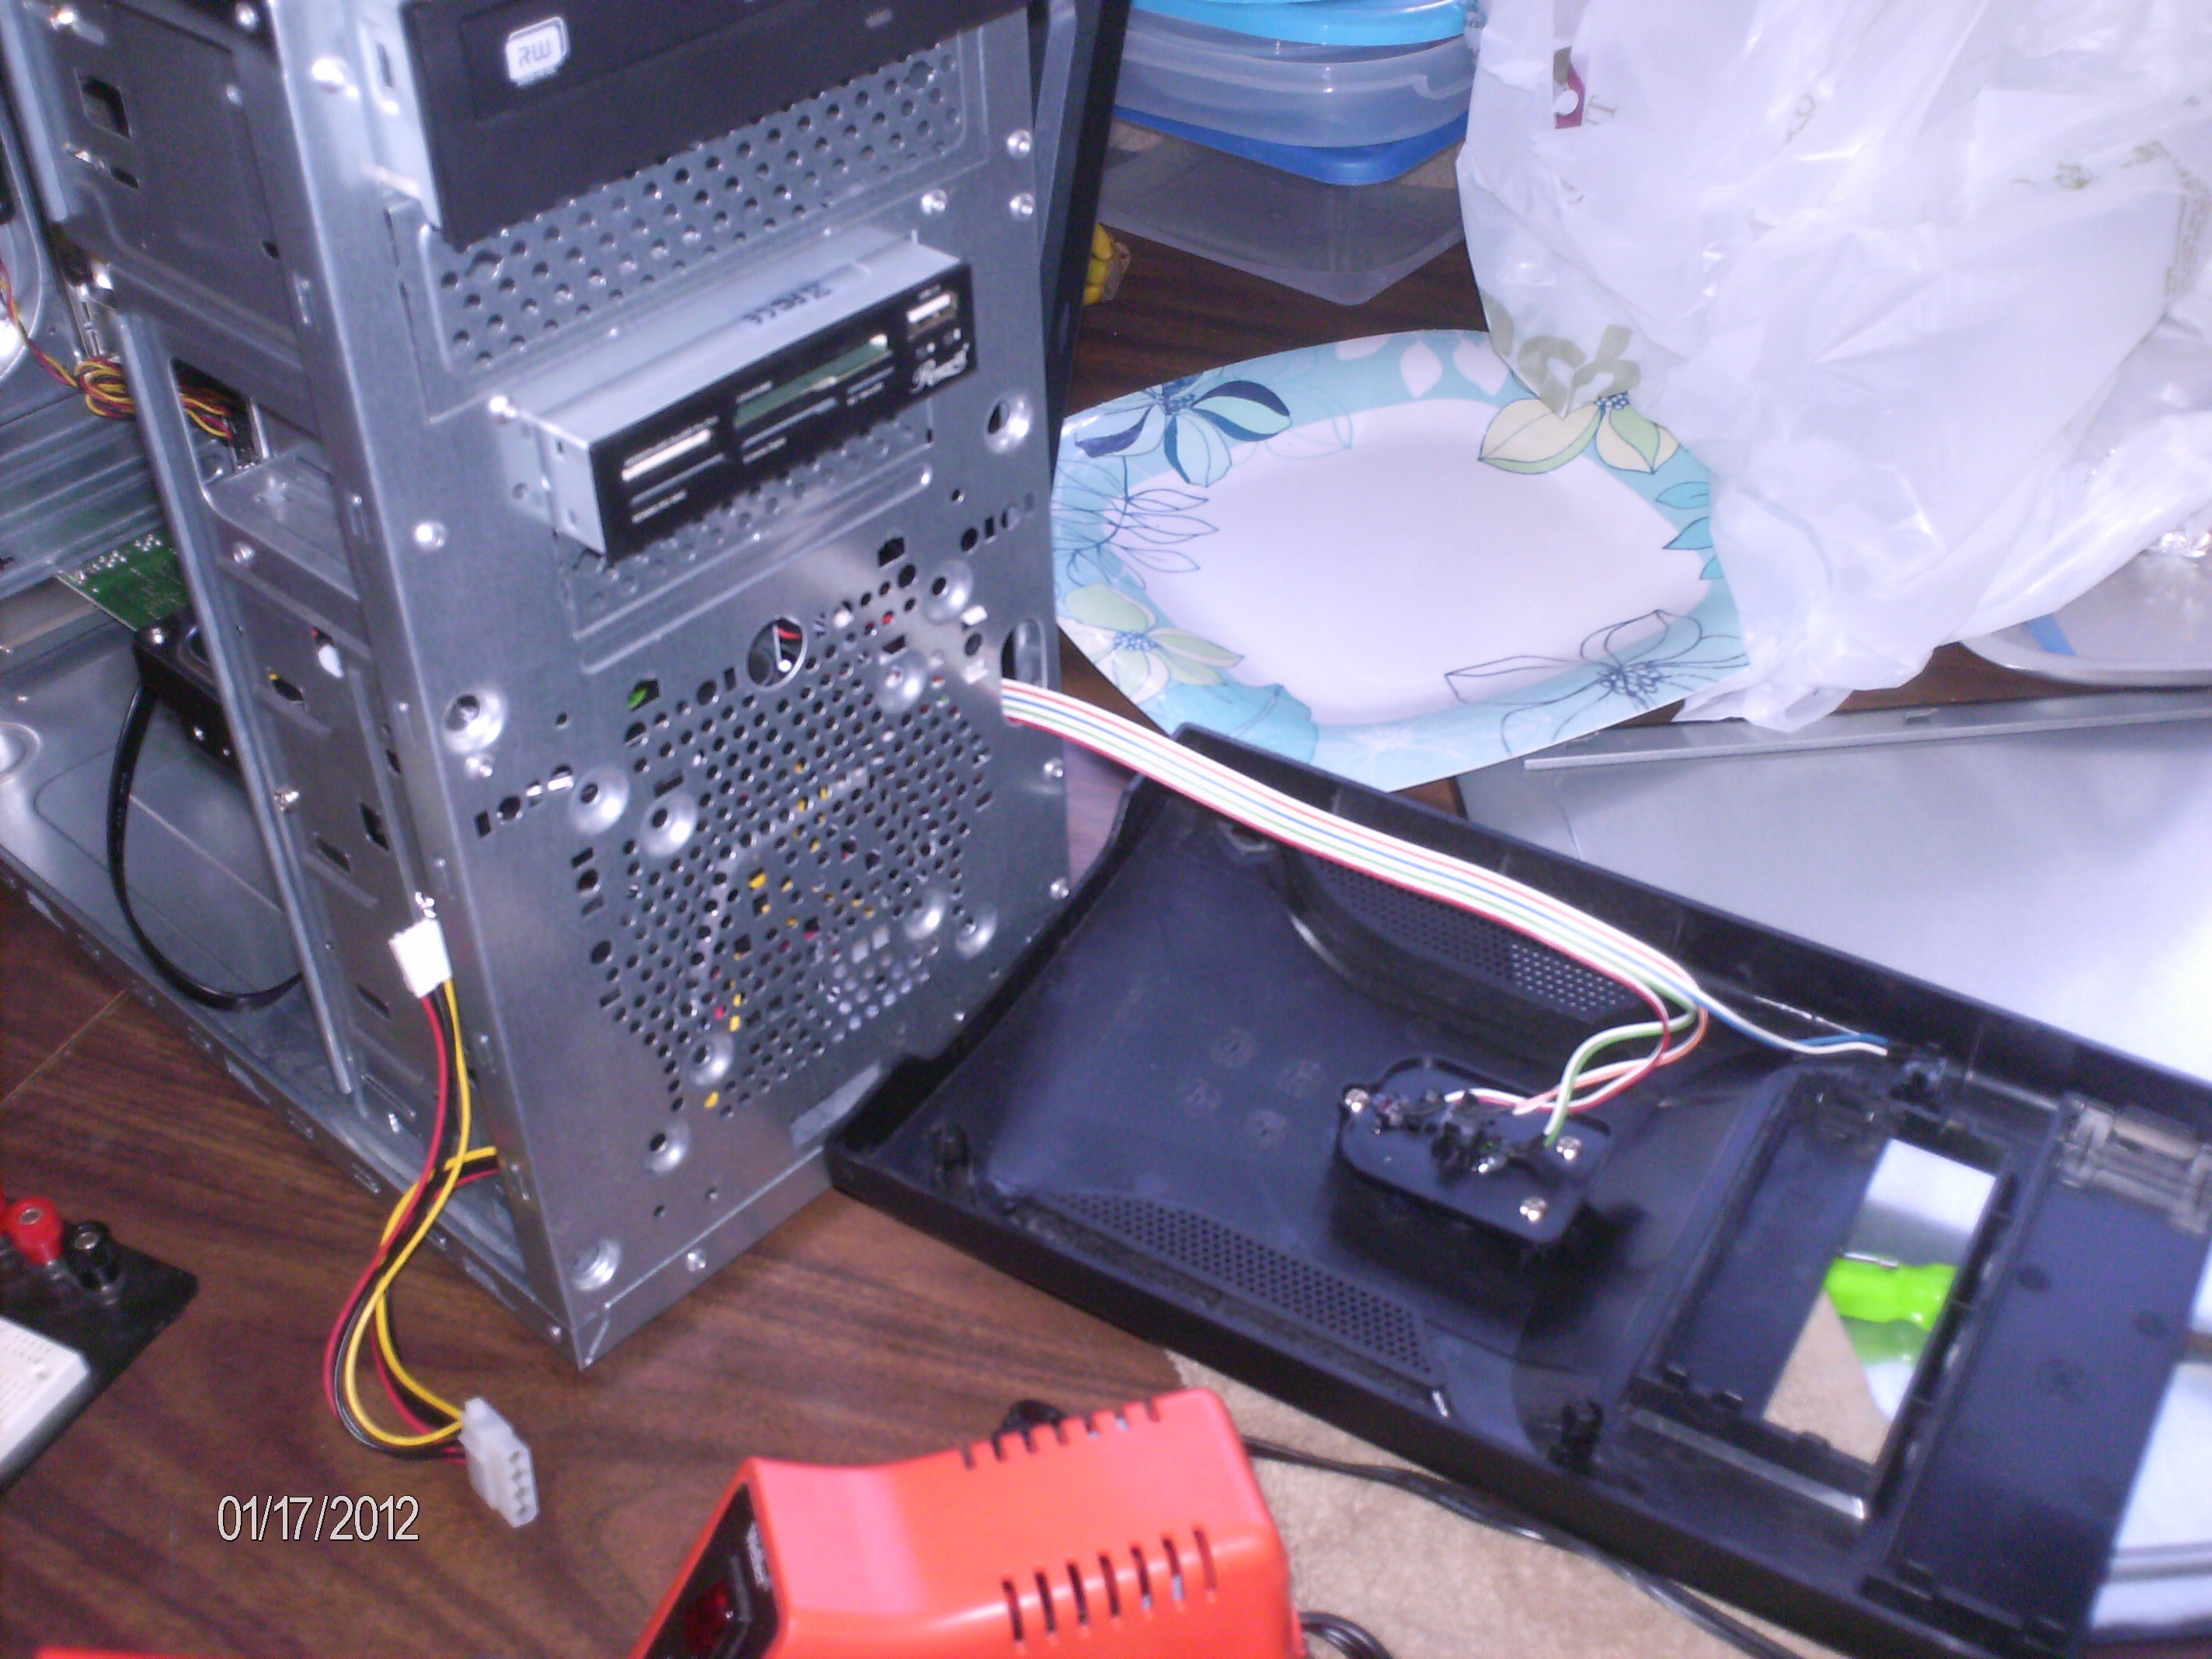
The grille and power connector
In the front of the case there is a plastic piece that covers the metal body of the case and also holds the power button, reset button, and HDD light. This case has a grille on it to allow air to pass through into the front fan (if I had one installed).
I decided that this grille could look awesome if it had some backlighting. I had considered using a lighted fan for this purpose before, but since fans are mounted on the inside of the case it would project the shadows from the internal metal structure onto the plastic grille, ruining the effect. I decided to mount some white LEDs on the inside of the plastic piece pointing towards the inside of the case so they could shine on and illuminate the part behind the grille to give a "glowing" effect. Here is what I used:
- Some spare really thick black matte cardstock my sister let me have (she is into artsy things)
- 4 White LEDs that I had lying around
- A 15Ω resistor to limit the current (4 LEDs @ 25mA each comes to 100mA at a voltage drop of 3.5V)
- A .1" header I had in a parts box
- Some wire
- Some tape
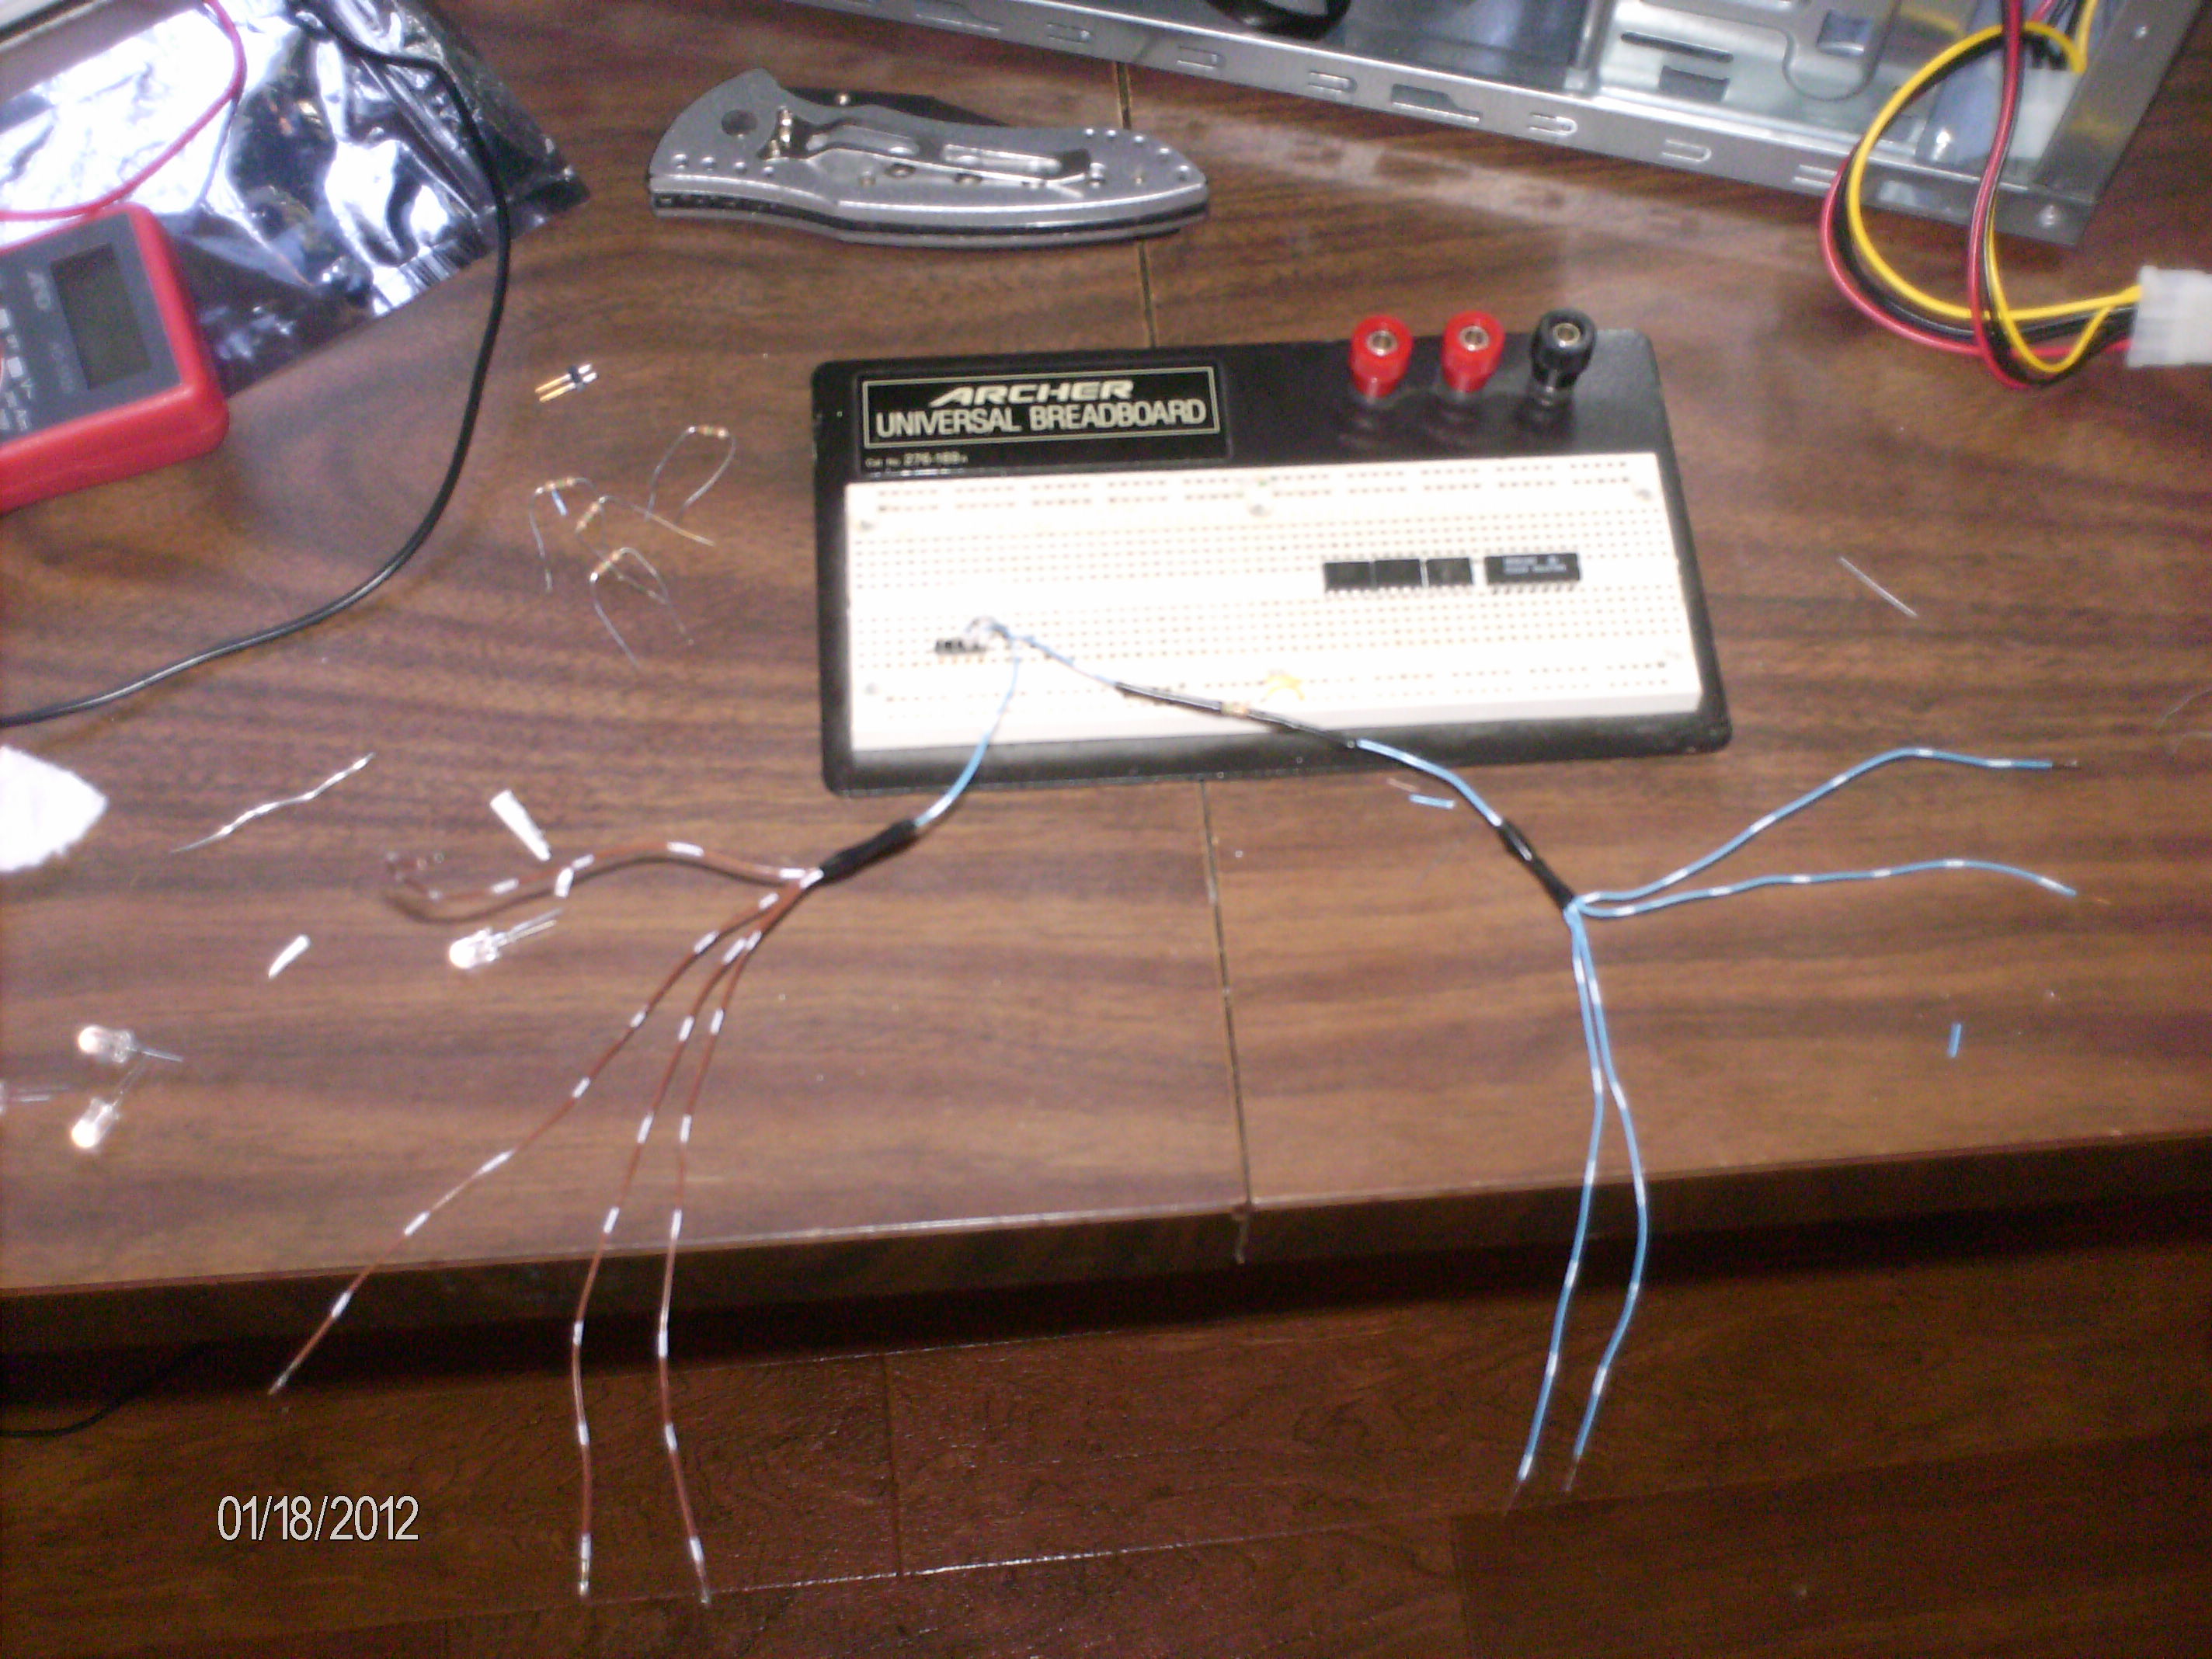
The spider wires
I started out by soldering the header to some wires to take the 5V and GND line off of the small .1" power connector in my computer. I then put the resistor on the positive rail and then split everything off into 4 wires (8 in total: 4 power, 4 ground). The result looked rather like a spider in my opinion. After that it was a relatively simple job of soldering the long lead of the LEDs to the positive rail and the other side to the negative rail. Thus, the LED assembly was completed.
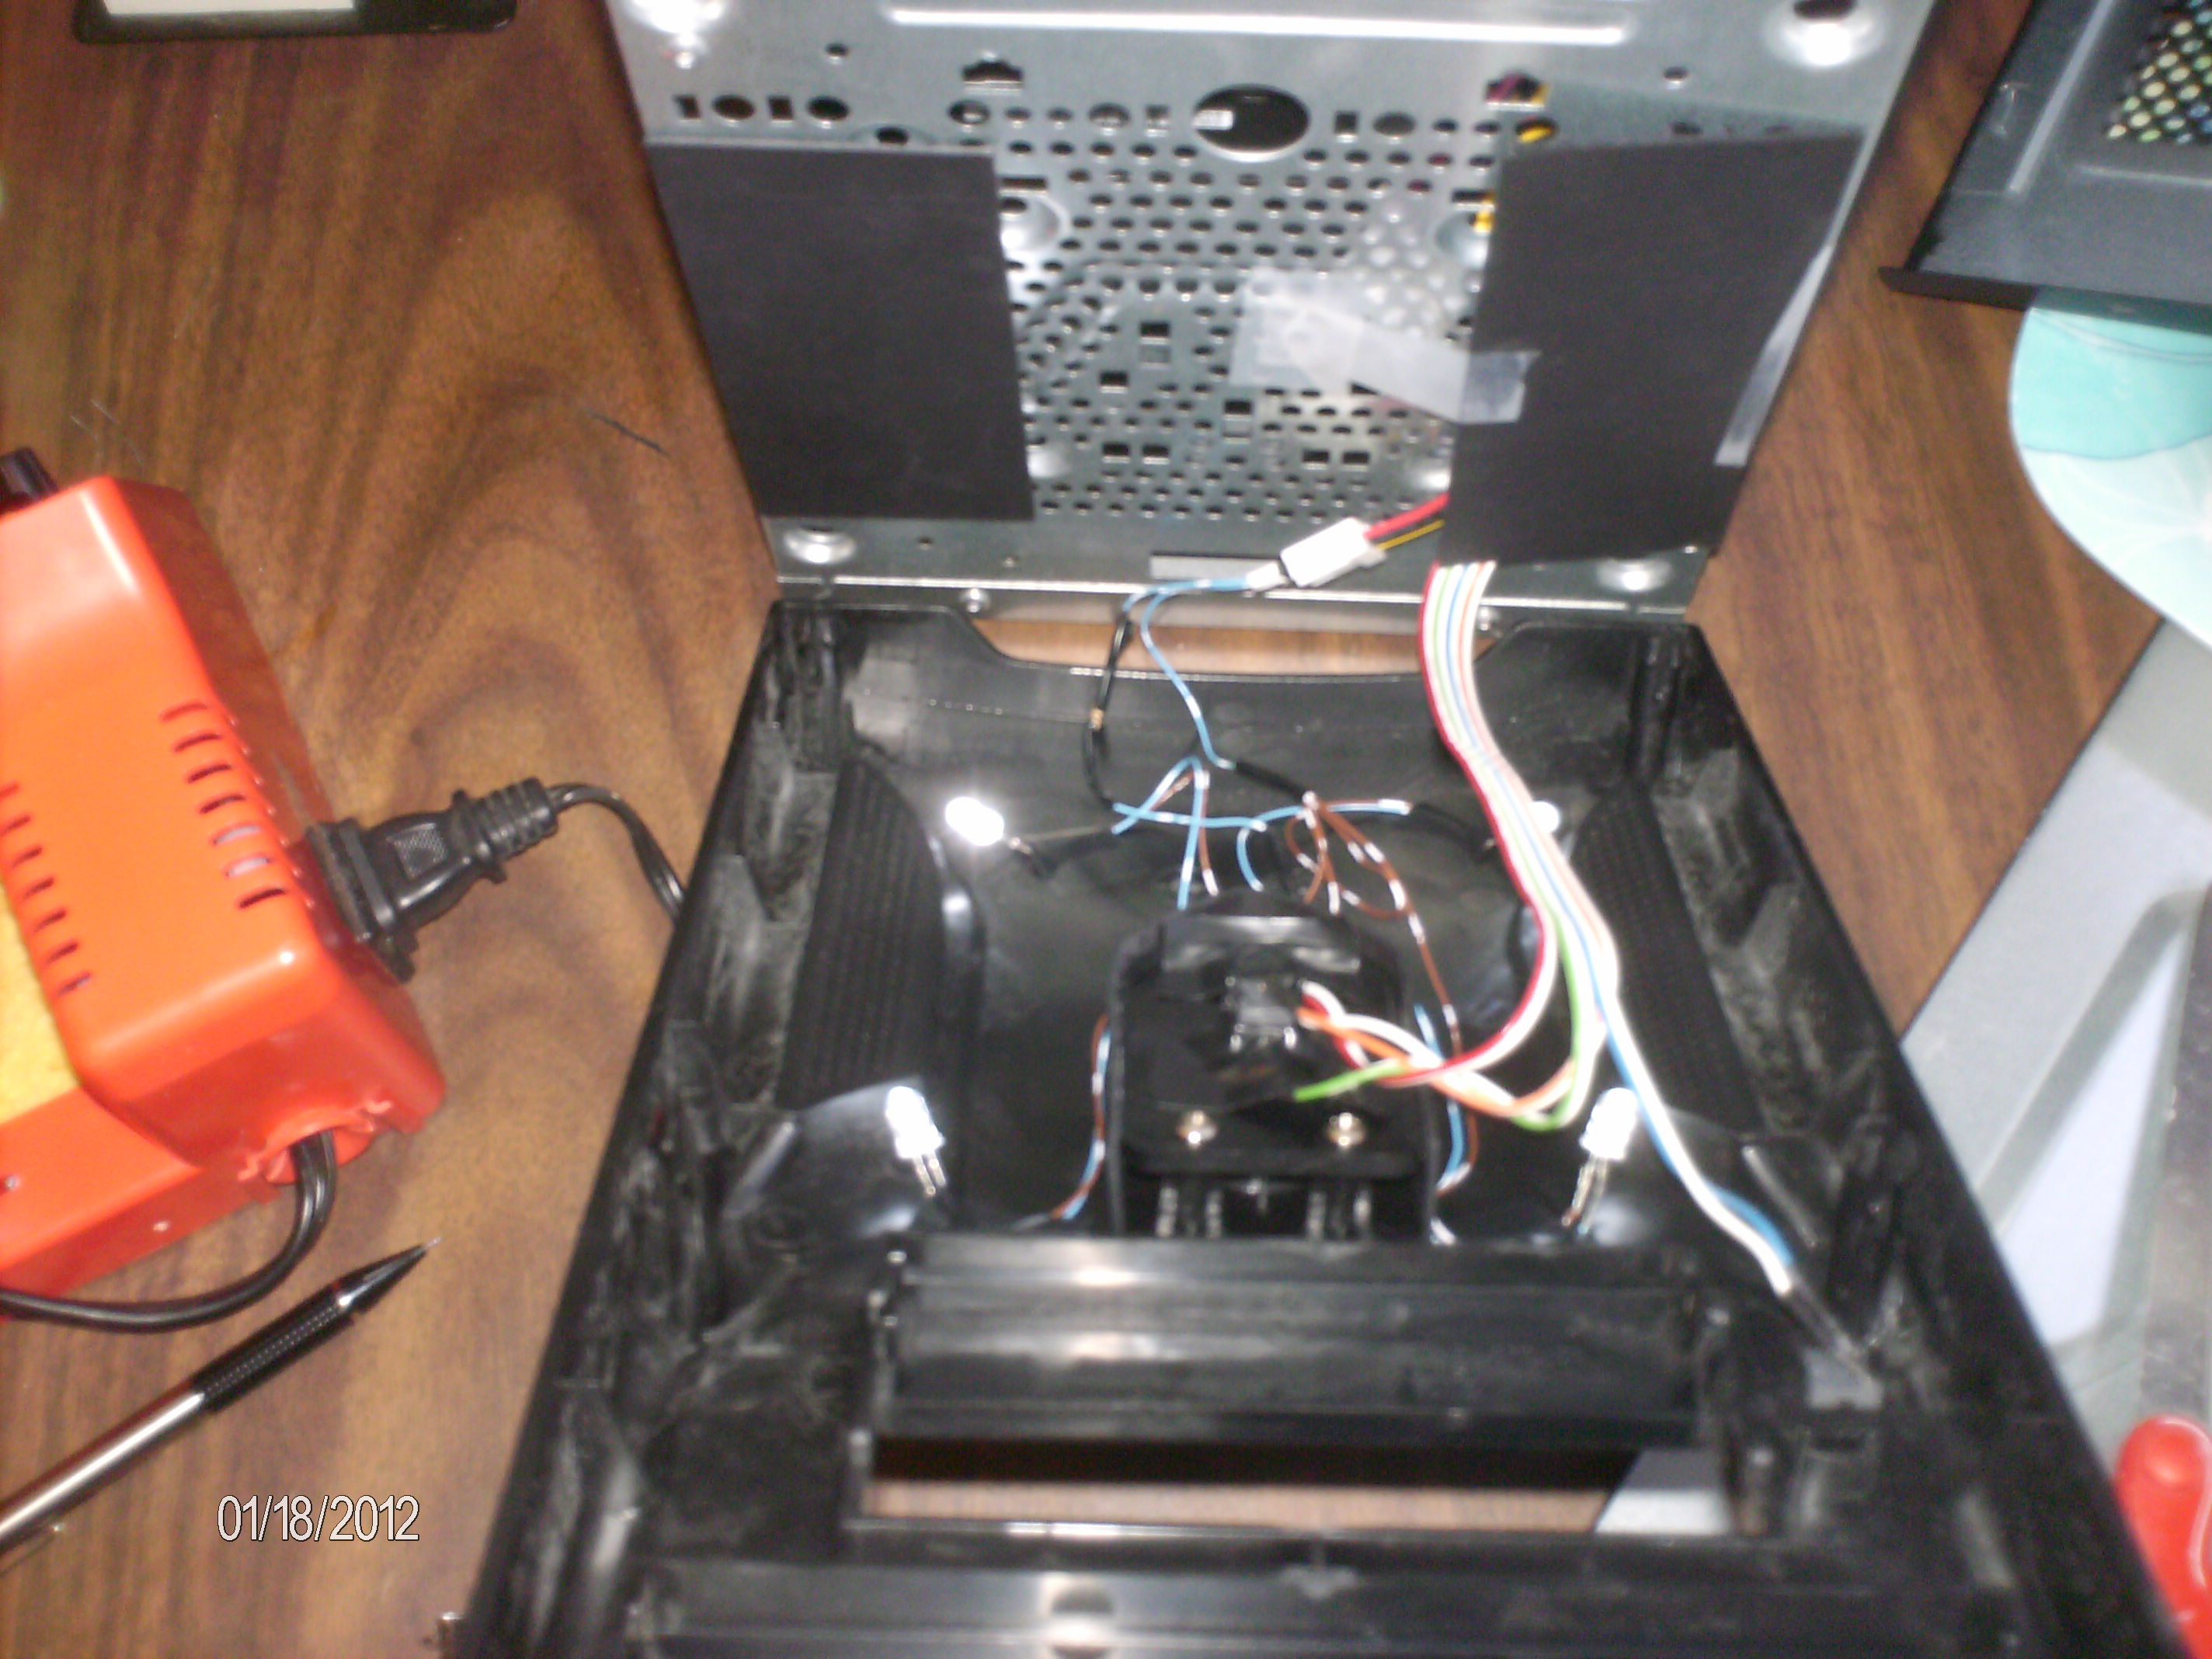
Matte board and aimed LEDs
The more difficult part was attaching the matte board to the metal part of the case and then aiming the LEDs. The matte board was necessary because without it the LEDs reflected a little too well off the metal of the case and they could be clearly seen through the grille. I cut the matte board into two pieces large enough to cover the metal on either side of the grille and used tape to hold it in place. One hitch came up with the wires going to the front of the case: the hole for the wires was right beneath one of the grilles and was not easily covered by the cardstock. I ended up just basically laying the cardstock over the hole and wires and moving them around so as to not be visible through the grille. The next bit of matte board I used was to create a shroud of sorts around the HDD and power lights since the LEDs were bright enough that they shined through the bezels for those lights as well. I then spent a while aiming the lights until I was satisfied and then I put the computer back together so I could enjoy my new lights.
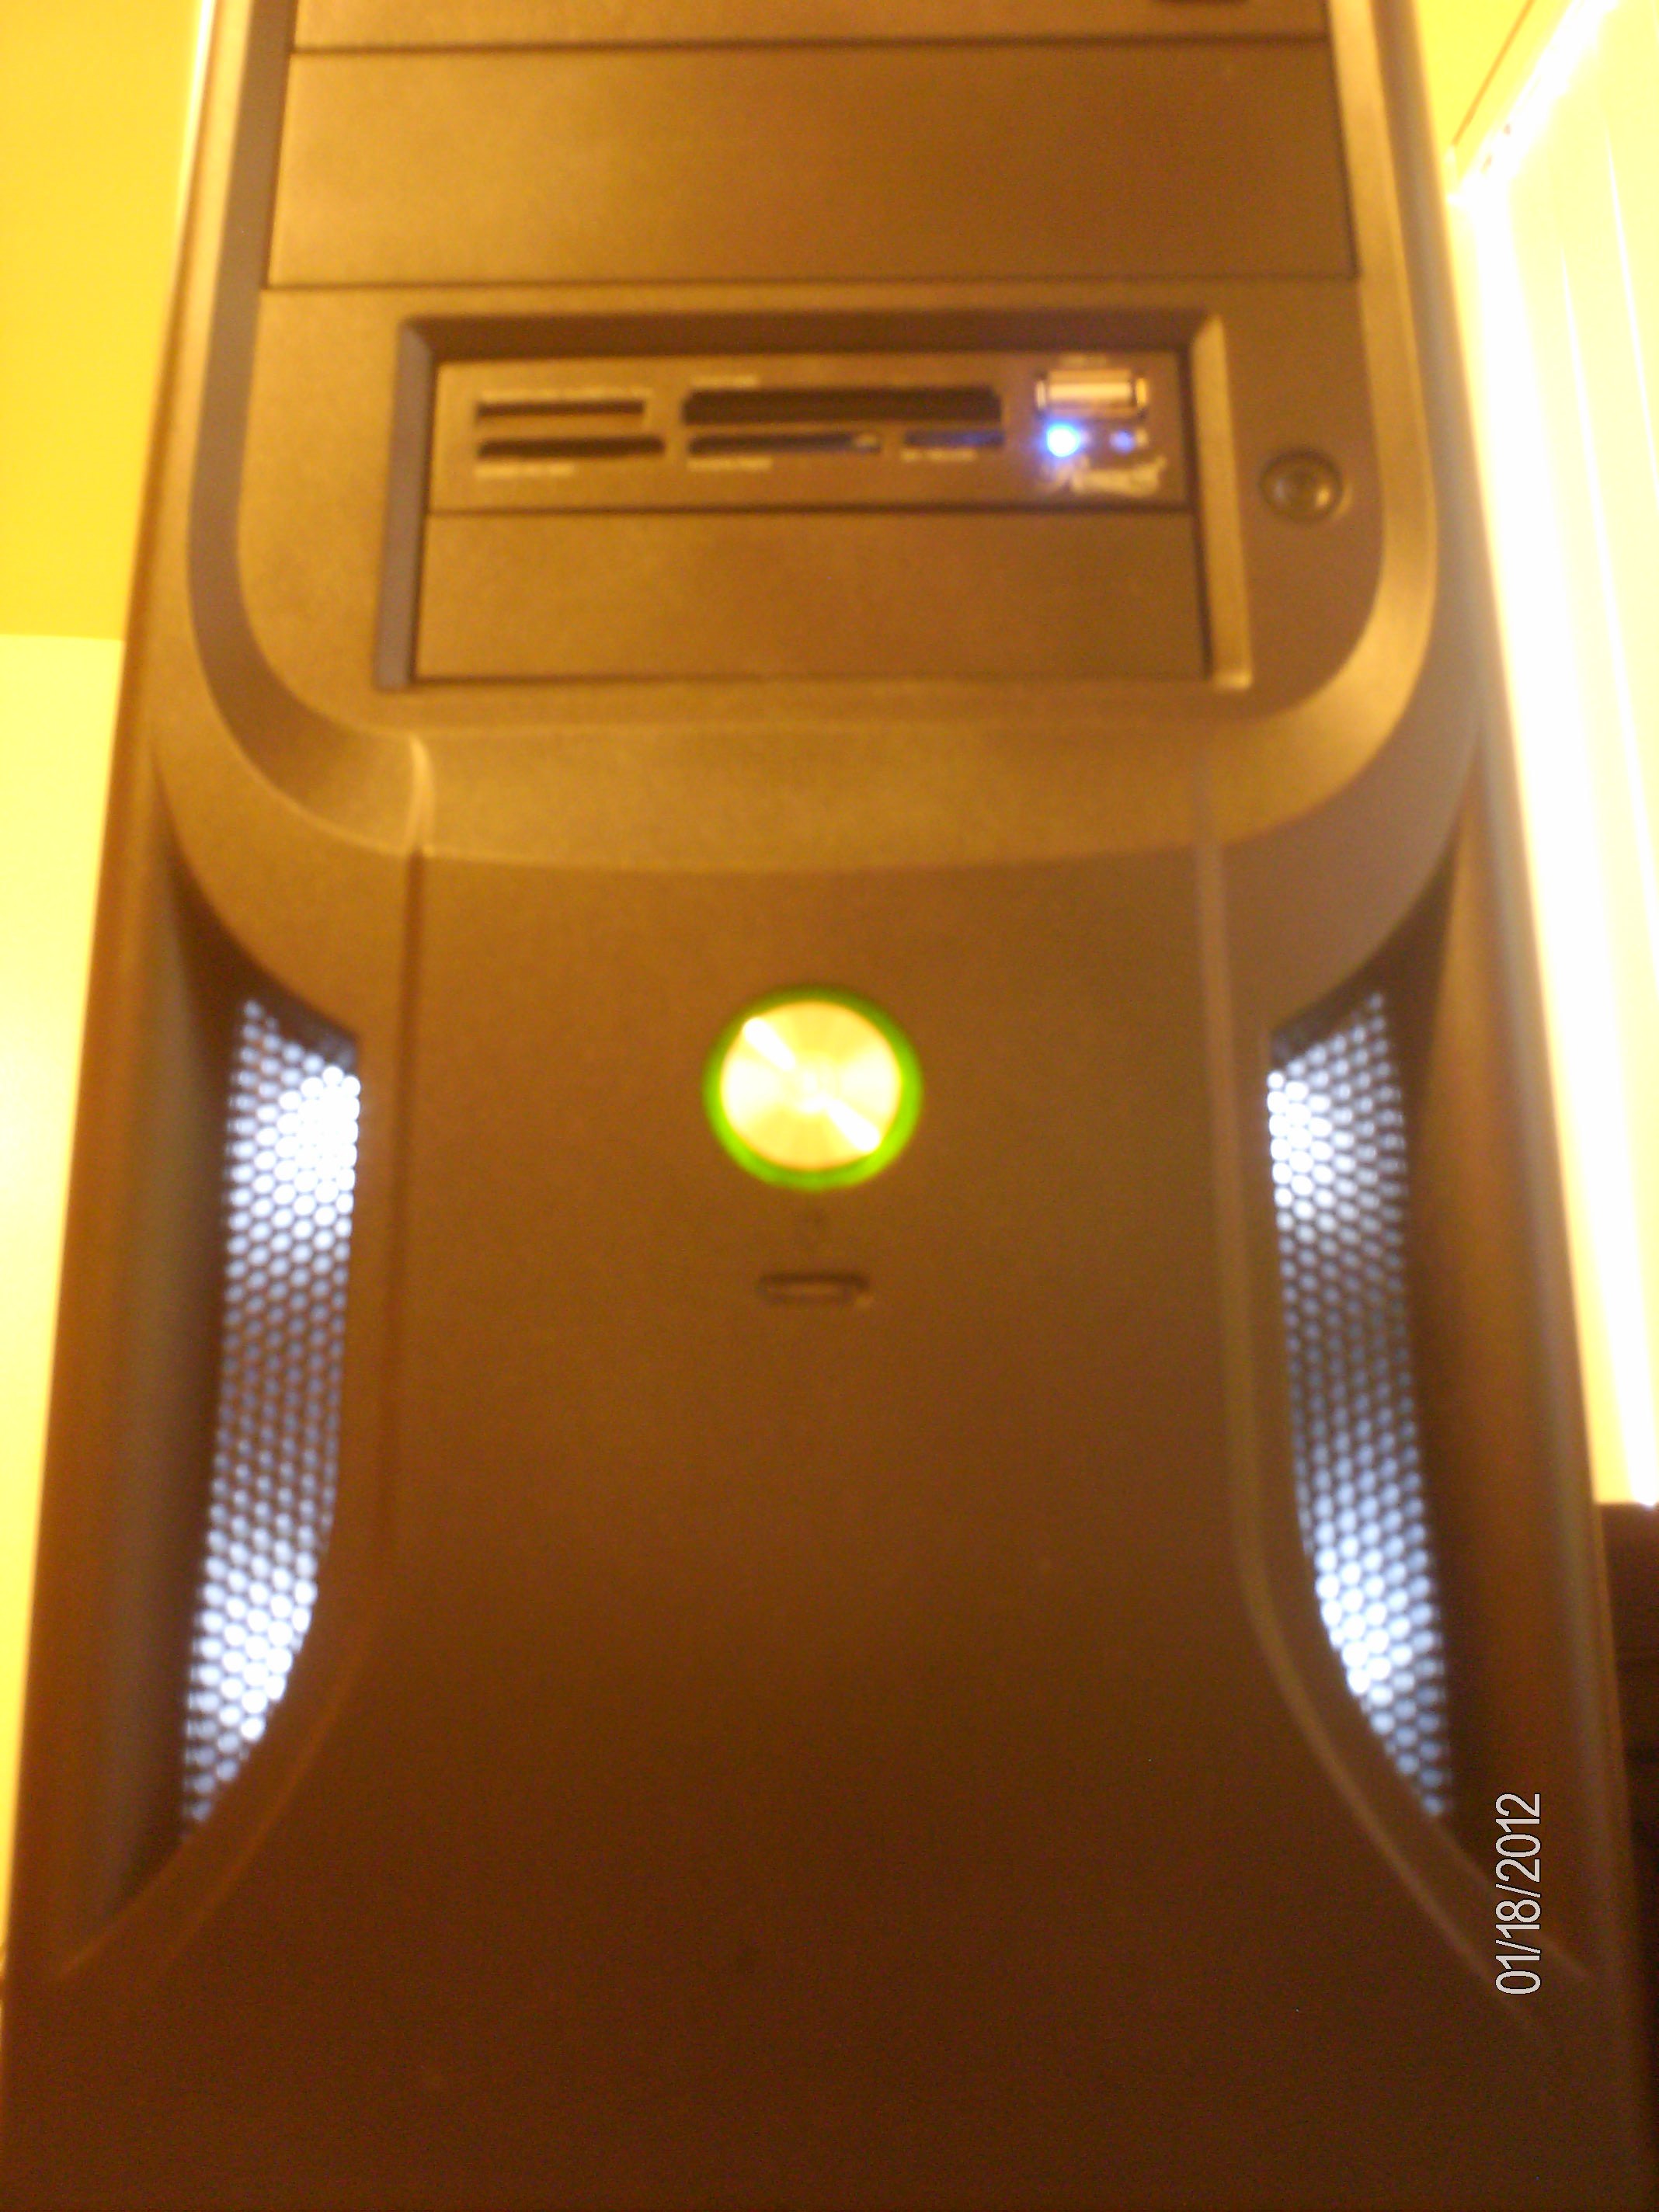
The Final Effect
All in all my specs are as follows:
- ASRock Z68 Pro3-M Motherboard (microATX)
- Intel Core i5-2500K Processor running at the stock frequency
- 8GB G.Skill Ripjaws DDR3 RAM
- 1TB Western Digital Green HD (using wdantiparkd to counter the head parking issues)
- Rosewill RNX-N300X Wireless b/g/n card
- Apex 500W Power Supply
- Cheap DVD burner
- Cheap Rosewill card reader
- Apex microATX case with a handle (best feature!) and some LEDs
- Ubuntu 11.10 64-bit for an OS
hardware linux
Recent posts
Using "access" types and "new" in VHDLA New Blog
A good workflow and build system with OpenSCAD and Makefiles
AVR TPI Programming With usbasp For Dummies
Writing reusable USB device descriptors with some XML, Python, and C